In this post, I will try to explain my process how to get best out of Insta360 ONE RS 1-inch camera and successfully upload images to Mapillary. It started out of my frustration of dealing with this camera and Mapillary and I hope you will not have to go through what I have been🙂. I will be focusing here more on software side (how to deal with data) rather than on hardware side (how to set up rig for image capture).
Let me first start with disclaimer that this is not easiest camera to work with Mapillary (hence this guide) and that not even Mapillary is recommending it. It definitively captures better images than GoPro 360, but everything with GoPro is more smooth over whole process, so be aware of this. Camera needs to record in video mode and it relies on additional GPS dongle you have to buy.
This guide assumes familiarity with Python and Linux. Most steps are optional, and you can treat everything as pure recommendation, and while you can always ping me to help you, beware that some technical knowledge (and determination🙂) is needed if you want to extract highest quality from this camera.
Capturing street view
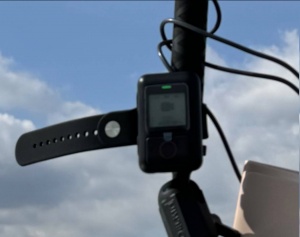
First, you will need another hardware – “GPS Action Remote” with this. In theory, you don’t need it, as you can record with phone (or some other device), but in practice – you just turn on this remote and it works. With phone, you need to have Insta app turned on all the time, worry about display, whether app will get killed by battery optimizations, GPS reception inside car…. I decided to keep my sanity and use this little gadget. It will record GPS (poorly). Connect them and pair them and you can control camera through this remote. Once it show green, it means it is connected to camera and it acquired GPS signal.


Mapillary is suggesting to capture images in timelapse mode. If you do this, you will not get any GPS data (that is – you will get first coordinate and that lat/long will be on all images, so unusable). With this camera, you have to record in video mode. This will result in larger files, more drained battery and prolonged post-processing, but hey – at least it will work. You can expect 1h 10 min of recording if you fully top up battery.
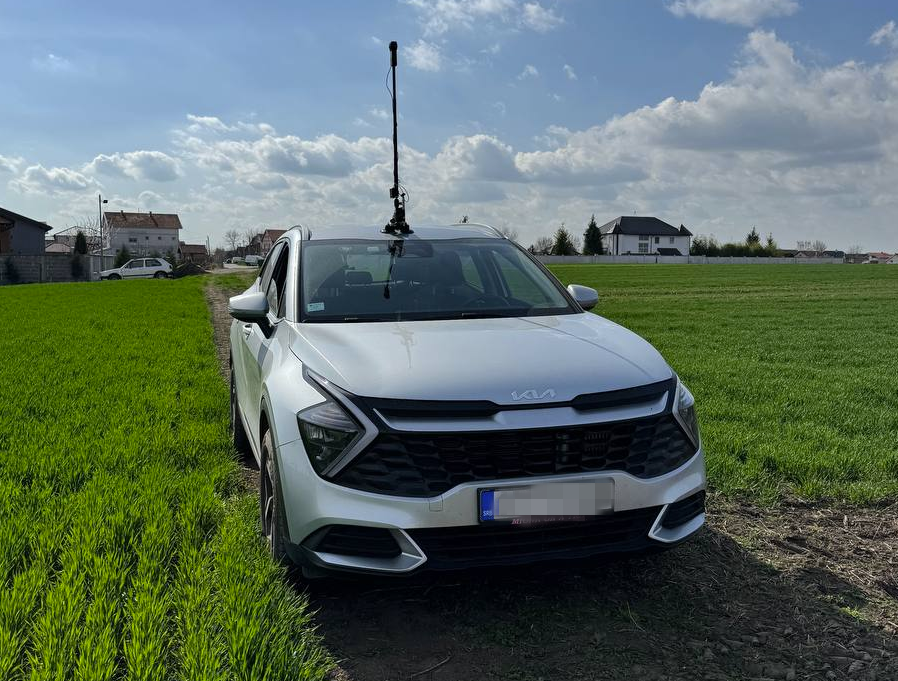
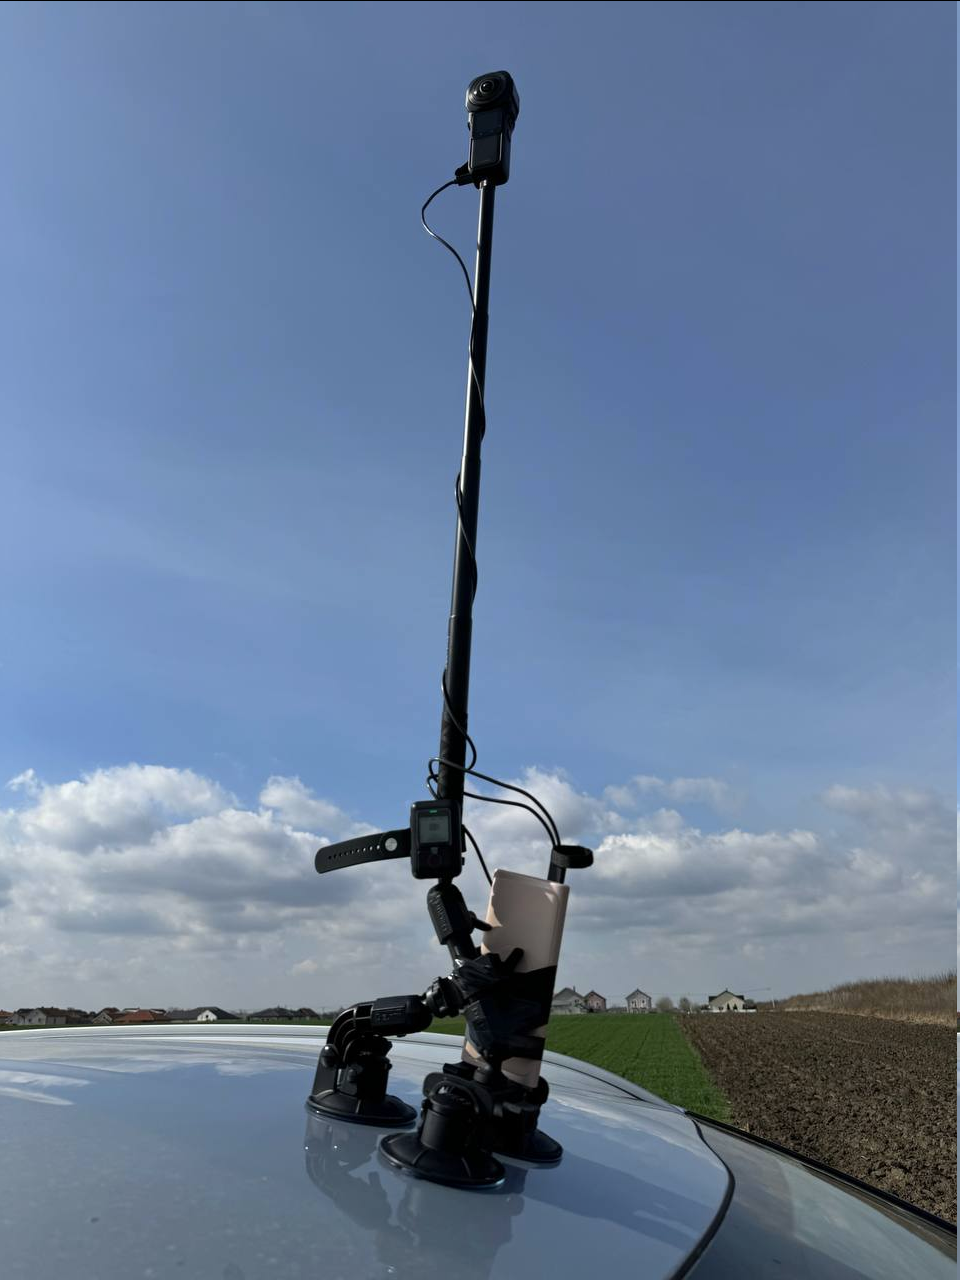
If you are using it outside of car, you can strap both GPS remote and additional battery altogether (watch for hot days and direct exposure of battery to the sun!), but I recommend to go out every 10-20 minutes and check if tripod is holding good. If you are like me and you want to be anonymous and don’t like to be captured by camera, every time you go out, do stop and start video recording again. If you just have one large video, it will be harder to remove yourself (but not impossible), so consider doing this. If you don’t care if your head is in video, then no need for this. This is example how our setup looked like:
If you do not want to do video splitting, you will have to keep your video under 7-8 minutes! If you go over this time, you will have to cut them in post-processing as Mapillary cannot ingest video larger than 8 minutes.
Getting video and track
Once you go home, you will end up with .insv files. Download and open Insta360 Studio application. Import this .insv file. You can adjust quality of image if you want. I usually cut beginning and end of video to only parts where I am driving. If I went outside of car and were checking tripod, I also cut those parts (you cannot cut parts of video, but you can export same video multiple times with different start/end cut times). Once satisfied with cutting, export video. Important thing here is to check “Export GPX track”.
If you don’t want to deal with Linux and cutting video/gpx later, this is your time to cut video into 5-6 minutes segments. Anything larger than this increases probability that Mapillary processing will fail (anything above 8 minutes is impossible to be processed).
At the end of the process, you should end with one .mp4 video file and one .gpx track file. Let’s call them input.mp4 and input.gpx.
Fixing GPX track (optional)
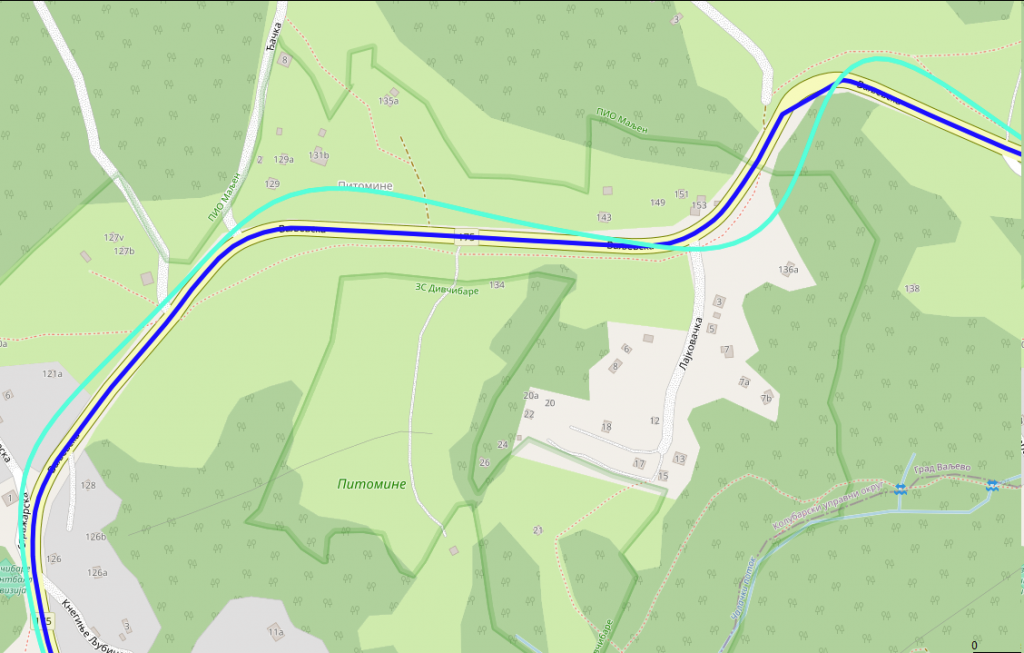
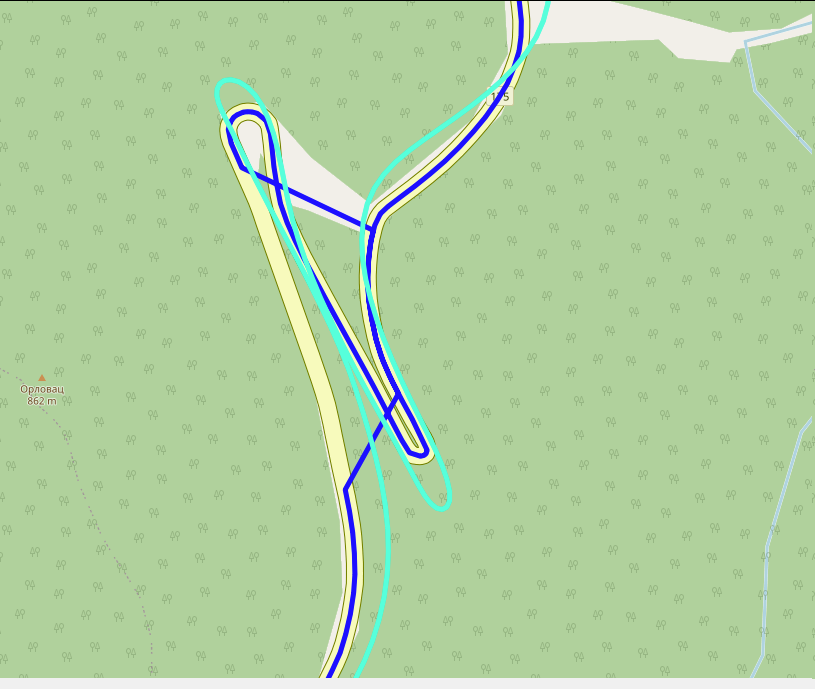
GPX that is recorded with this “Action Remote” dongle is crime against all scientist, engineers, mechanics and everyone who worked hard to give us ability to know where we are using GPS. For this part, you will need to run Python program. If you can live with poor GPS, no need to fix anything, but I just couldn’t. Here is how it looks before (turquoise color) and after (blue color) processing:
What I did is I used Geoapify platform to do map matching of GPX for me. This is process where you snap GPX trace to closest road. It is really hard problem and I found that Geoapify do very good job converting this Insta360 mess of GPX and their free pricing is more than enough (not affiliated with them, just found them good and easy to work with). First go to their website, sign in and obtain API key (click “New Project”, type any name and on next dialog, just remember generated API key). Here is simple Python script that will take your input.gpx, send it to Geoapify for map matching and then update original .gpx to have new points (while keeping all other attributes like time the same):
import xml.etree.ElementTree as ET import json import requests ET.register_namespace('', 'http://www.topografix.com/GPX/1/1') ns = {'': 'http://www.topografix.com/GPX/1/1'} def gpx_to_json(input_filename): converted_gpx = {'mode': 'drive', 'waypoints': []} tree = ET.parse(input_filename) root = tree.getroot() trksegs = root.findall('.//trkseg', ns)[0] for trkseg in trksegs: converted_gpx['waypoints'].append({ 'timestamp': trkseg.find('time', ns).text, 'location': [float(trkseg.attrib['lon']), float(trkseg.attrib['lat'])] }) return converted_gpx def do_mapmatching(input_json): url = "https://api.geoapify.com/v1/mapmatching?apiKey=<YOUR_APIKEY>" headers = {"Content-Type": "application/json"} resp = requests.post(url, headers=headers, data=json.dumps(input_json)) if resp.status_code != 200: raise resp return resp.json() def adopt_gpx(input_gpx_filename, mapmatched_json, output_gpx_filename): # Load original GPX and segments tree = ET.parse(input_gpx_filename) root = tree.getroot() trksegs = root.findall('.//trkseg', ns)[0] # Load mapmatched segments waypoints = mapmatched_json['features'][0]['properties']['waypoints'] assert len(waypoints) == len(trksegs) # Change location in original gpx and save it for waypoint, trkseg, i in zip(waypoints, trksegs, range(len(waypoints))): assert i == waypoint['original_index'] trkseg.attrib['lon'] = str(waypoint['location'][0]) trkseg.attrib['lat'] = str(waypoint['location'][1]) tree.write(output_gpx_filename, default_namespace="") if __name__ == '__main__': input_gpx_filename = 'input.gpx' input_gpx_as_json = gpx_to_json(input_gpx_filename) mapmatched_json = do_mapmatching(input_gpx_as_json) adopt_gpx(input_gpx_filename, mapmatched_json, 'output.gpx') |
Save this code as “mapmatching.py”, change “YOUR_APIKEY” to value obtained from Geoapify, run it with python3 mapmatching.py with input.gpx in same directory. At the end of it, you should get output.gpx. Open this file in GPX editor of your choice and manually inspect it. Move any bogus points (it can happen, especially with hairpin roads) and save it – you can now use this .gpx instead of old one. I am using GpsPrune software (available for Linux too) to move points. Here is (rare) example where mapmatching can go wrong:
Splitting videos (optional)
If you ended with videos larges than 8 minutes, this is your time to cut them. I am using ffmpeg and exiftool command from Linux. This is command that will take input.mp4 and split it into out000.mp4, out001.mp4 … files, each up to 5 minutes in length. After that, I am using exiftool to bring back metadata from original video (just so it is nicer to play it in 360 mode in VLC, but I think it is not required for Mapillary):
ffmpeg -i input.mp4 -c copy -strict experimental -map 0:0 -segment_time 00:05:00 -f segment -reset_timestamps 1 out%03d.mp4 exiftool -api LargeFileSupport=1 -tagsFromFile input.mp4 -all:all out000.mp4 # repeat for other out*.mp4 files |
Unfortunately, you will have to split .gpx manually (I could create Python script for this too if someone wants, but it was easier for me to just split it in text editor). That is – open .gpx in any text editor, observe time of first point, add 5 minutes to that value and remove all points that happened after exactly fifth minute. If you do this correctly and if you had video of 14 minutes and you cut it in 6 minute segments, you should end up with 3 video – 6 minutes, 6 minutes and 2 minutes as well as 3 .gpx traces – 6 minutes, another one with middle 6 minutes and another one with final 2 minutes. Do rename .mp4 and .gpx to have same names!
You are now ready to upload all these video using Mapillary Desktop Uploader. As long as names of .mp4 and .gpx are the same, you can just drag .mp4 file into Desktop Uploader app and it will show you trace and it will let you upload to Mapillary.
Producing images (optional)
In general, you don’t need this step. This is step if you want to convert video to bunch of images. Some of the reason you might want images:
- You don’t like how Mapillary is handling videos (street view images too close to each other), or
- you ended up with large videos that you cannot/don’t know how to split, or
- you have part of video that you don’t want in Mapillary at all, and you don’t want to split it in Insta Studio app all the time
- you don’t want to backup large videos, you would rather have images
- you have poor internet connection to upload those giant video files
In these cases, you can try to generate bunch of images from your videos and upload these. For this, mapillary_tools can help you, but it is not easy to get proper arguments. What I found that works for me is this set of options:
mkdir tmp/ mapillary_tools video_process ./out000.mp4 ./tmp/ --geotag_source "gpx" --geotag_source_path ./out000.gpx --video_sample_distance -1 --video_sample_interval 1 --interpolation_use_gpx_start_time --overwrite_all_EXIF_tags --interpolate_directions |
Conclusion
I hope this guide could help you with this camera, if you plan to use it for street view. Feel free to ping me if you need help in any of these steps or if you find that something is missing, or that Mapillary made some things easier in the meantime! Big thanks to friends BrackoNe and borovac who borrowed me this camera and who took these pictures (and whose car this is🙂).